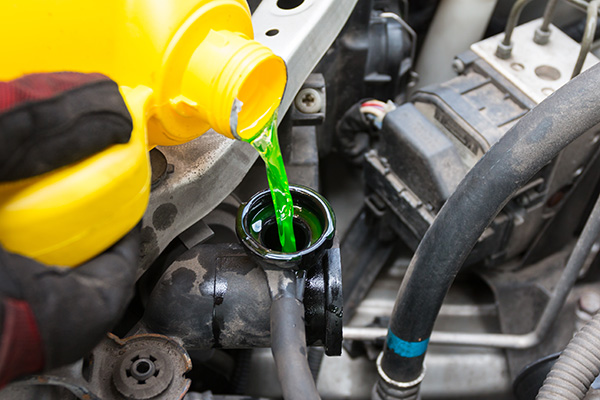
In the realm of automotive care, few tasks are as essential as monitoring your engine's coolant level. At the heart of this balance lies coolant—a silent guardian tasked with regulating temperatures and preserving engine health. As your vehicle traverses roads and miles, this critical fluid diminishes, prompting the need for replenishment. We will explain how to top off your coolant in 7 easy steps
Step 1: Prioritize Preparation
Park your vehicle on a level surface and allow the engine to cool completely before replenishing the coolant. This guarantees a stable, cool environment for a safe refill and minimizes the risk of coolant splatter.
Step 2: Locate the Coolant Reservoir
Identify the coolant reservoir, usually a translucent plastic container situated near the radiator. Verify the coolant level indicators on the reservoir's side to determine if topping off is necessary.
Step 3: Unfasten the Reservoir Cap
With caution, unscrew the reservoir cap once the engine has sufficiently cooled. Adhere to any specific instructions on the cap to prevent potential accidents during opening.
Step 4: Introduce the Coolant
To prevent spillage, use a funnel and gradually pour the coolant into the reservoir until reaching the desired level. Consult the manufacturer's guidelines to ensure the correct type of coolant is used for your vehicle.
Step 5: Verify Proper Mixture
For pre-mixed coolant, no dilution is needed. However, if using concentrated coolant, adhere to the manufacturer's instructions and mix with distilled water before adding to the reservoir.
Step 6: Secure the Reservoir Cap
After reaching the recommended coolant level, securely fasten the reservoir cap. Ensure it's tightly sealed to prevent any potential leaks or coolant evaporation.
Step 7: Tidy Up and Maintain
Using a clean cloth, wipe away any spilled coolant from the engine and its surroundings. Regularly monitor the coolant level and inspect for leaks to uphold your engine's cooling efficiency and longevity.
Maintaining your vehicle's coolant level is not just about preserving its performance; it's about safeguarding your investment and ensuring smooth travels ahead. At Complete Automotive, we understand the importance of proper maintenance, which is why our expert technicians are here to assist you every step of the way.
Schedule your coolant check-up today with Complete Automotive and experience peace of mind on the road.